Visit BuildBlock’s YouTube Channel to find this and other ICF training information, guides, and instruction.
Transcript:
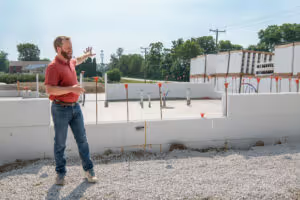
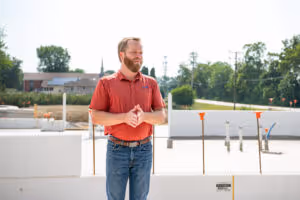
In this video, we’re going to cover how to build t-wall intersections for single and multi-story ICF construction.
Step 1: Prepare the Footing
First, you’ll need to layout the footing. Build footers as designed, with rebar dowels in place. Make sure that the footers are clean and as flat as possible, this helps make block placement easier.
Next, snap a chalk line on the footer to indicate the outside and inside edges of both the main and intersecting ICF walls. At the location of the T-intersection, make a mark to represent the concrete core width of the intersecting wall.
Step 2: Install the First Course of Block
Next, place the first course of ICF block, starting from the corners and work your way towards the center, just as you would a straight wall.
At the location of the T intersection, cut out the foam from the inside panel of the main wall to match the width of the intersecting wall’s concrete core.
If a web lands where you need to cut, shift the block seam so the web isn’t cut. Try to keep as many webs in place as possible to support rebar later.
Step 3: Set the First Course of Intersecting Block
Next, you’ll need to start forming the intersection, place blocks from the intersecting wall on the footing so that they butt directly against the straight wall, at the concrete core marks.
You will need to trim or shave off the interlocking connection fingers on the top of the first course where the subsequent course will overlap.
On the intersecting block, remove the first 2 inches of foam (or two molded bars) so that a web aligns at the corner.
Step 4: Install the First Course of Rebar
Next, start placing the first course of steel by placing a 5-foot length of #5 or #6 rebar in the main wall, across the T-intersection and secure it with zip ties or wire ties at each web. This rebar is the horizontal wall stiffener.
Add a 90° rebar dowel (L-bar) in every course, alternating left and right as you continue up.
Use ties on the rebar to secure it and ensure it remains in place.
Step 5: Set the Second Course of Block
Next you will continue building the main wall. Stack the second course of block on the main wall above the first course. This time, cut the inner panel to match the outside width of the intersecting block (for example: 11 inches for a 6 inch core, 13 inches for an 8inch core).
Step 6: Add the Second Course of Intersecting Block
Next, continue stacking the intersecting wall. Place the second course of intersecting block while aligning the webs vertically with the webs below.
The second course of intersecting block overlaps into the main wall instead of butting against it.
Trim off the interlocking connection fingers on the intersecting block where the next course of block for the main wall will overlap.
Step 7: Install the Second Course of Rebar
Next, you will install the second course of rebar. For every even-numbered course, alternate the position of:
Continue the previous steps until the wall reaches full height.
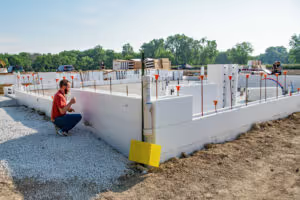
Step 8: Brace the T-Intersection
Once the walls are stacked to full height, the next step will be to brace the T-intersection. Make sure that the walls are level, straight, and plumb.
Add wood bracing inside the T-intersection corners on all odd-numbered courses which are the courses that butt directly against the main wall.
Step 9: Brace the Back Side of the T
Next, you will need to brace the back side of the T intersection on the main wall.
If you can safely access the back side of the main wall, it’s good practice to place horizontal whalers to contribute more strength to the cut blocks.
Additionally, a vertical brace should be placed there the T-wall connects to the main wall.
Be sure to conduct a proper pre-pour inspection before pouring the concrete, this will help ensure that you achieve a successful pour.
Final/Outro:
This concludes BuildBlock’s recommended method for constructing T-wall intersections using ICFs.
Thanks for watching! If you have any questions, feel free to contact our technical team or give us a call.